
A bathroom renovation should last between 10 to 15 years. Proper maintenance can extend this lifespan even further.
A bathroom renovation is a significant investment that enhances your home’s value and functionality. Durability and longevity depend on the quality of materials and craftsmanship. Choosing high-quality fixtures, tiles, and finishes ensures a longer-lasting renovation. Regular maintenance, like cleaning grout and sealing surfaces, plays a crucial role.
A well-planned renovation addresses current needs and anticipates future requirements. Hiring experienced professionals minimizes costly mistakes and ensures a smooth process. Investing time in planning and selecting the right materials pays off in the long run. A well-executed bathroom renovation not only boosts aesthetics but also provides lasting comfort and utility.
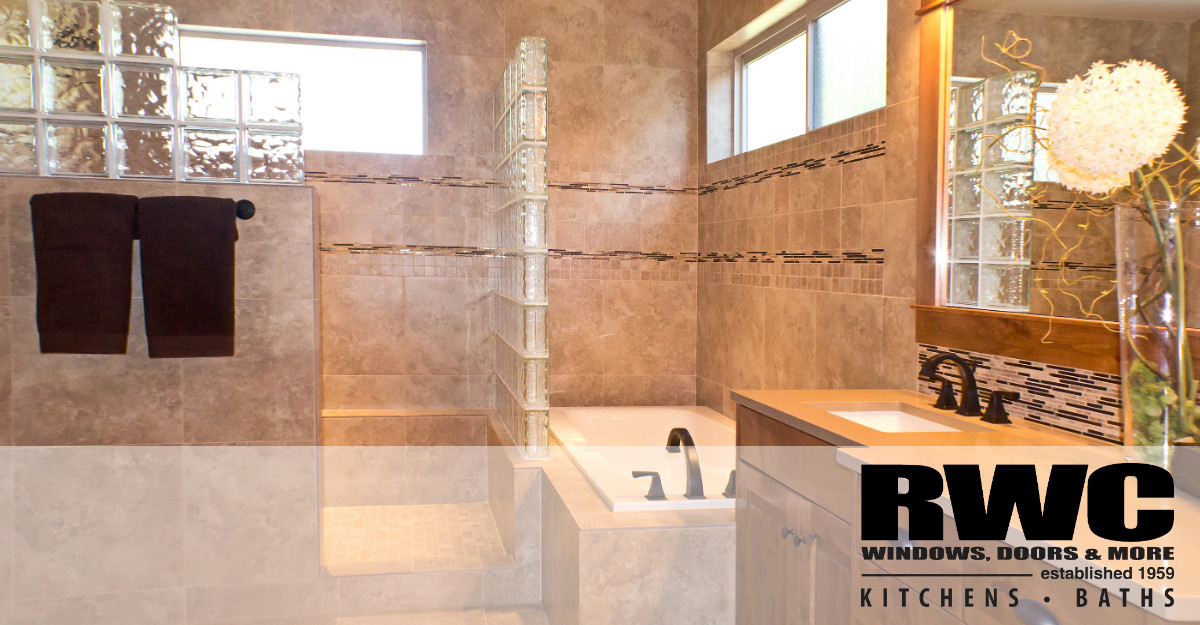
Credit: rwcnj.com
Planning Phase
The planning phase is crucial for a smooth bathroom renovation. This phase sets the foundation for the entire project. Proper planning ensures you stay on schedule and budget. Let’s dive into the key areas of the planning phase.
Setting A Timeline
Setting a realistic timeline is essential. A typical bathroom renovation lasts between two to four weeks. Create a detailed schedule to avoid delays.
Consider the following steps:
- Demolition: 1-2 days
- Plumbing and Electrical Work: 2-4 days
- Drywall and Painting: 3-5 days
- Tile and Flooring: 2-4 days
- Fixtures and Finishing Touches: 3-5 days
Communicate with your contractor to align on the timeline. Adjust as needed based on the project’s complexity.
Budget Considerations
Budgeting is a critical part of the planning phase. Determine how much you can spend on the renovation. Include all potential costs:
- Labor costs
- Materials
- Fixtures and fittings
- Contingency funds for unexpected expenses
Here’s a simple table to help you plan your budget:
Item | Estimated Cost |
|---|---|
Labor | $2,000 – $5,000 |
Materials | $1,500 – $3,000 |
Fixtures and Fittings | $1,000 – $2,500 |
Contingency | $500 – $1,000 |
Track your expenses regularly. Adjust your budget as needed. Proper budgeting helps avoid financial stress during the renovation.

Credit: virginiakitchenandbath.com
Design And Layout
Bathroom renovations can transform a dull space into a relaxing oasis. The design and layout are crucial for a successful renovation. A well-planned design ensures a functional and beautiful bathroom. Let’s explore the key elements in the design and layout phase.
Choosing Materials
Selecting the right materials is vital for durability and style. Consider materials that are water-resistant and easy to clean. Popular choices include ceramic tiles, porcelain, and natural stone.
- Ceramic Tiles: Affordable and available in various designs.
- Porcelain: Durable and less porous than ceramic.
- Natural Stone: Luxurious but requires more maintenance.
Use a mix of these materials for a balanced look. For example, use ceramic tiles on walls and natural stone for flooring.
Space Optimization
Optimizing space ensures a clutter-free and functional bathroom. Small bathrooms need smart design solutions.
Consider these tips for space optimization:
- Wall-Mounted Fixtures: Save floor space with wall-mounted sinks and toilets.
- Sliding Doors: Use sliding doors to maximize space.
- Built-In Storage: Incorporate built-in shelves and cabinets.
Use a layout plan to visualize the placement of fixtures. Keep high-traffic areas clear and accessible.
Material | Pros | Cons |
|---|---|---|
Ceramic Tiles | Affordable, Versatile | Less Durable |
Porcelain | Durable, Low Maintenance | Higher Cost |
Natural Stone | Luxurious, Unique | High Maintenance |
Hiring Professionals
Hiring professionals for a bathroom renovation can save you time and stress. Experts ensure quality work and timely completion. This section covers finding the right contractor and understanding roles and responsibilities.
Finding The Right Contractor
Finding the right contractor is crucial for your renovation’s success. Look for contractors with good reviews and ample experience in bathroom renovations.
Roles And Responsibilities
Understanding the roles and responsibilities of your contractor is important. This helps set clear expectations. Here are some key points:
Project Planning: The contractor creates a timeline and budget.
Permits and Inspections: They handle necessary permits and inspections.
Material Procurement: The contractor sources quality materials.
Labor Management: They manage the renovation team effectively.
Clear communication with your contractor is essential. This ensures the project stays on track and within budget. Knowing what to expect helps avoid surprises.
Pre-renovation Preparations
Starting a bathroom renovation can be exciting. Proper preparations ensure the process goes smoothly. Pre-renovation preparations are crucial for a successful project. Below are key steps to consider.
Clearing The Space
The first step is clearing the space. Remove all personal items. This includes toiletries, towels, and decorations. Moving furniture and fixtures is also necessary. Ensure the room is empty before starting work.
Take out all toiletries.
Remove towels and linens.
Move out any furniture.
Detach fixtures like mirrors and lights.
Clearing the space helps prevent damage. It also makes the renovation process easier.
Ordering Materials
Next, order all necessary materials. This includes tiles, paint, and fixtures. Make a list of everything needed. Order materials in advance to avoid delays.
Material | Quantity |
|---|---|
Tiles | 100 sq ft |
Paint | 2 gallons |
Fixtures | 3 (sink, toilet, shower) |
Ordering materials in advance ensures they are ready. This avoids waiting for deliveries. It keeps your project on schedule.
Follow these steps for a smooth bathroom renovation. Proper preparations save time and stress.
Demolition Stage
The Demolition Stage marks the beginning of your bathroom renovation. This phase involves tearing down old fixtures and materials. Proper planning during demolition ensures a smooth renovation process.
Safety Measures
Safety should be your top priority during the Demolition Stage.
Wear protective gear like gloves, goggles, and masks.
Turn off water and electricity before starting.
Use tools carefully to avoid injuries.
Make sure to inform everyone at home about the ongoing demolition. This helps in preventing accidents. Keep first aid kits nearby for emergencies.
Debris Management
Managing debris efficiently is crucial during the Demolition Stage.
Task | Details |
|---|---|
Collect Debris | Use heavy-duty bags for small debris. |
Dispose of Waste | Rent a dumpster for large waste. |
Recycle Materials | Separate recyclable items like metal and glass. |
Use a broom and vacuum to clean up dust. This keeps the area safe and tidy. Proper debris management prevents delays in your renovation.
Construction And Installation
The construction and installation phase of a bathroom renovation is crucial. This stage determines the overall success and longevity of the remodel. Below, we’ll break down the key components involved, including plumbing and electrical work, as well as installing fixtures.
Plumbing And Electrical Work
Plumbing is the backbone of any bathroom. It ensures that water flows correctly and efficiently. During a renovation, plumbers inspect and replace old pipes. They also install new ones if needed. This part of the process typically takes a few days to a week.
Replacing old pipes
Installing new pipes
Ensuring proper water flow
Electrical work is equally important. Electricians upgrade wiring, install new outlets, and ensure everything meets safety standards. This process can last several days depending on the complexity.
Upgrading wiring
Installing new outlets
Meeting safety standards
Installing Fixtures
Once plumbing and electrical work are complete, it’s time to install fixtures. This includes sinks, toilets, bathtubs, and showers. Installing these items can take anywhere from a few days to a week.
Sinks: Installed with care to avoid leaks.
Toilets: Positioned for comfort and efficiency.
Bathtubs: Set securely to prevent future issues.
Showers: Fitted with precision for optimal performance.
Each of these installations requires precision and expertise. Proper installation ensures your bathroom will function well for years to come.
Finishing Touches
The finishing touches of a bathroom renovation bring the project to life. These final steps ensure the space is functional and beautiful. Let’s dive into the key elements: Painting and Tiling and Adding Accessories.
Painting And Tiling
Painting and tiling are crucial for a polished look. Choose colors that match your theme. Use waterproof paint for durability.
For tiling, pick materials that resist moisture. Common options include ceramic, porcelain, and glass. Ensure tiles are properly sealed to prevent water damage.
Material | Pros | Cons |
|---|---|---|
Ceramic | Durable, Easy to Clean | Can Chip |
Porcelain | Highly Durable, Low Maintenance | More Expensive |
Glass | Stylish, Reflects Light | Slippery When Wet |
Adding Accessories
Accessories complete the bathroom’s look. Think about towel racks, mirrors, and soap dispensers. Choose items that complement your overall design.
Use the following checklist for essential bathroom accessories:
Towel Racks
Mirrors
Soap Dispensers
Toilet Paper Holders
Shower Curtains
Lighting is also important. Bright lights are best for tasks. Add dim lights for a relaxing atmosphere.

Credit: acremodeling.com
Post-renovation Inspection
After completing a bathroom renovation, a thorough post-renovation inspection is crucial. This helps ensure everything works properly. It also confirms that the renovation meets your expectations. A detailed inspection can save you from future issues.
Quality Check
Start with a quality check. Inspect all the fixtures and fittings. Make sure they are installed correctly. Check for any visible defects or damage.
Examine the tiles for cracks or chips.
Ensure the grout lines are even and clean.
Check the plumbing for leaks.
Test the water pressure in the shower and taps.
Use a checklist to keep track of these inspections. This helps ensure nothing gets overlooked.
Final Adjustments
After the quality check, move on to final adjustments. Sometimes, small tweaks are necessary to perfect the renovation.
Adjust the alignment of cupboard doors.
Tighten any loose screws or fixtures.
Re-seal around the bathtub and sinks if needed.
These adjustments can improve both the look and functionality of your bathroom. A well-done inspection ensures your bathroom renovation will last longer.
Frequently Asked Questions
How Long Does A Bathroom Renovation Take?
A typical bathroom renovation takes between 2 to 4 weeks. This timeframe can vary based on project complexity.
What Factors Affect Bathroom Renovation Time?
Several factors affect renovation time, including the size of the bathroom, scope of work, and availability of materials.
Can A Bathroom Renovation Be Done In A Week?
It is possible but unlikely. A rushed job can lead to mistakes and compromises on quality.
How Can I Speed Up My Bathroom Renovation?
Planning ahead, ordering materials early, and hiring experienced contractors can help speed up the renovation process.
Conclusion
A bathroom renovation should last between 10 to 15 years. Proper planning and quality materials ensure longevity. Regular maintenance can extend its lifespan. Invest wisely for lasting value and satisfaction. A well-renovated bathroom enhances home comfort and appeal. Always choose experienced professionals for the best results.